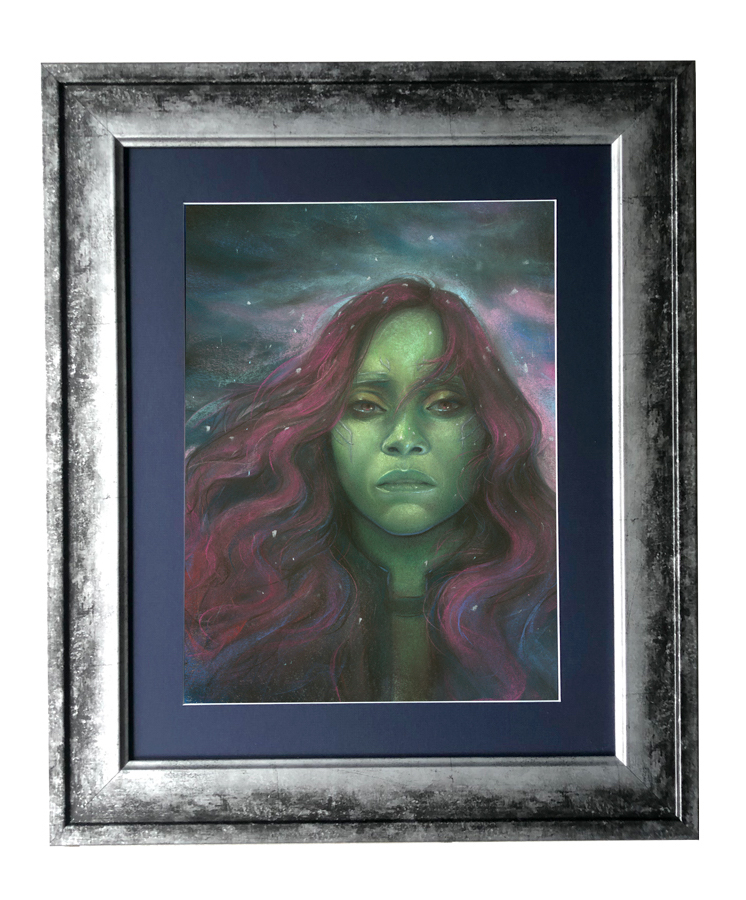
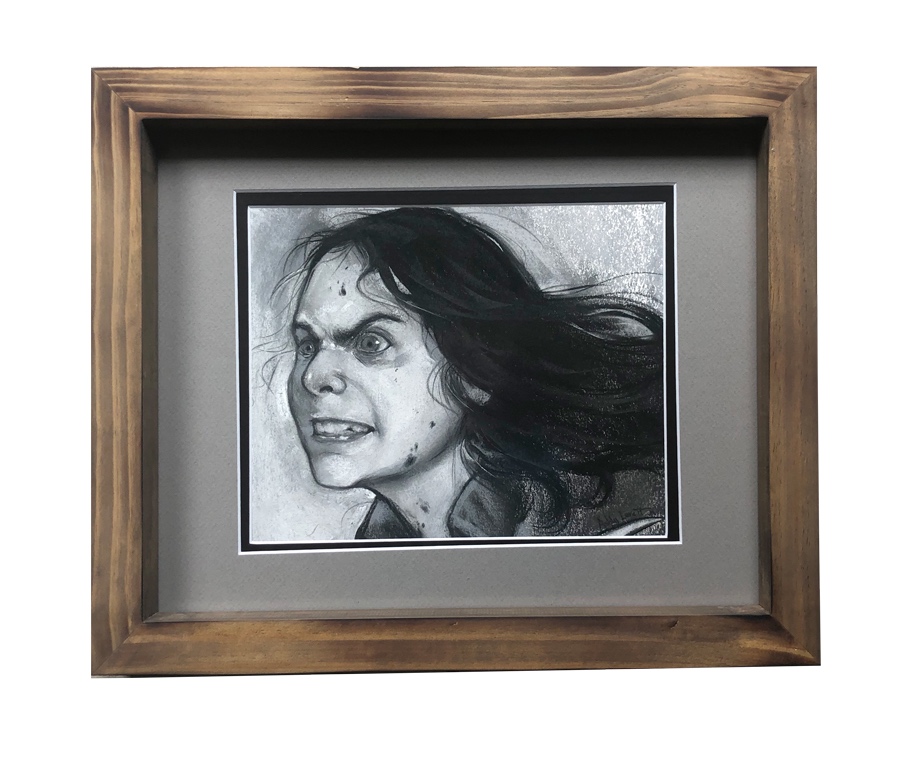
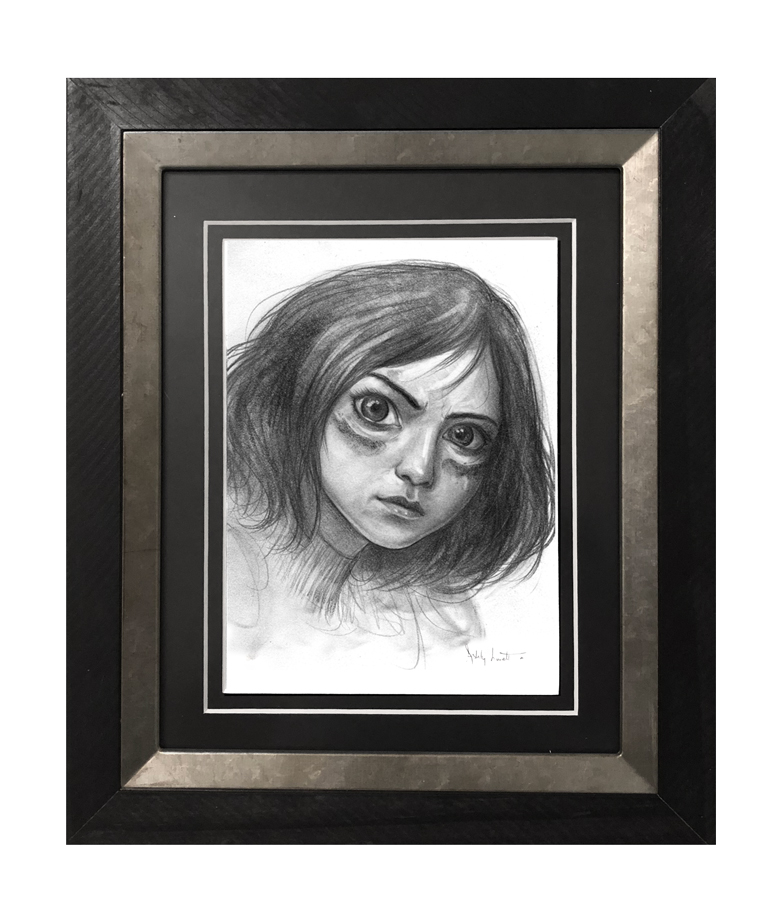
In honor of my solos show, I wanted to do a post sharing advice on how to frame your own work. My first solo show will be with Gallery1988 August 2nd at 7pm in Los Angeles, CA. “The Female Gaze” is celebrating the women of the scifi and fantasy world of TV and film. It will feature 19 pieces total in chalk pastel and graphite. Limited edition prints and originals are available for purchase from the show here:
Here we go!
There are many reasons you may decide to mat and frame your own artwork. You save money in the long run, you don’t have to drop off your artwork and wait 2 weeks, and you can control every aspect of the process.
Step 1: Order Framing Materials
• PictureFrames.com is my go to online framing company. The process is easy and you can reuse the shipping box. You save money by reusing the materials and they give you the option to have an unmarked box sent to you. You can request samples too.
• Frame Destination is where I buy my non-glare acrylic, museum glass,. and shipping stuff. Their materials are priced fairly and it’s a local company. The staff there is very nice and Dallas locals can pick up their orders and avoid shipping. You can request samples too.
Tip: Acrylic is way more affordable than glass and it ships safely.
Tip: Acrylic will have static. You may not want that if your work uses dry media. It can lift particles from the artwork. Wipe it down with a wet rag and then an anti-static cloth to get ride of the static.
Tip: 16x20 museum glass is more affordable than 14x18, 11x14, etc.
Step 2: Matting Artwork
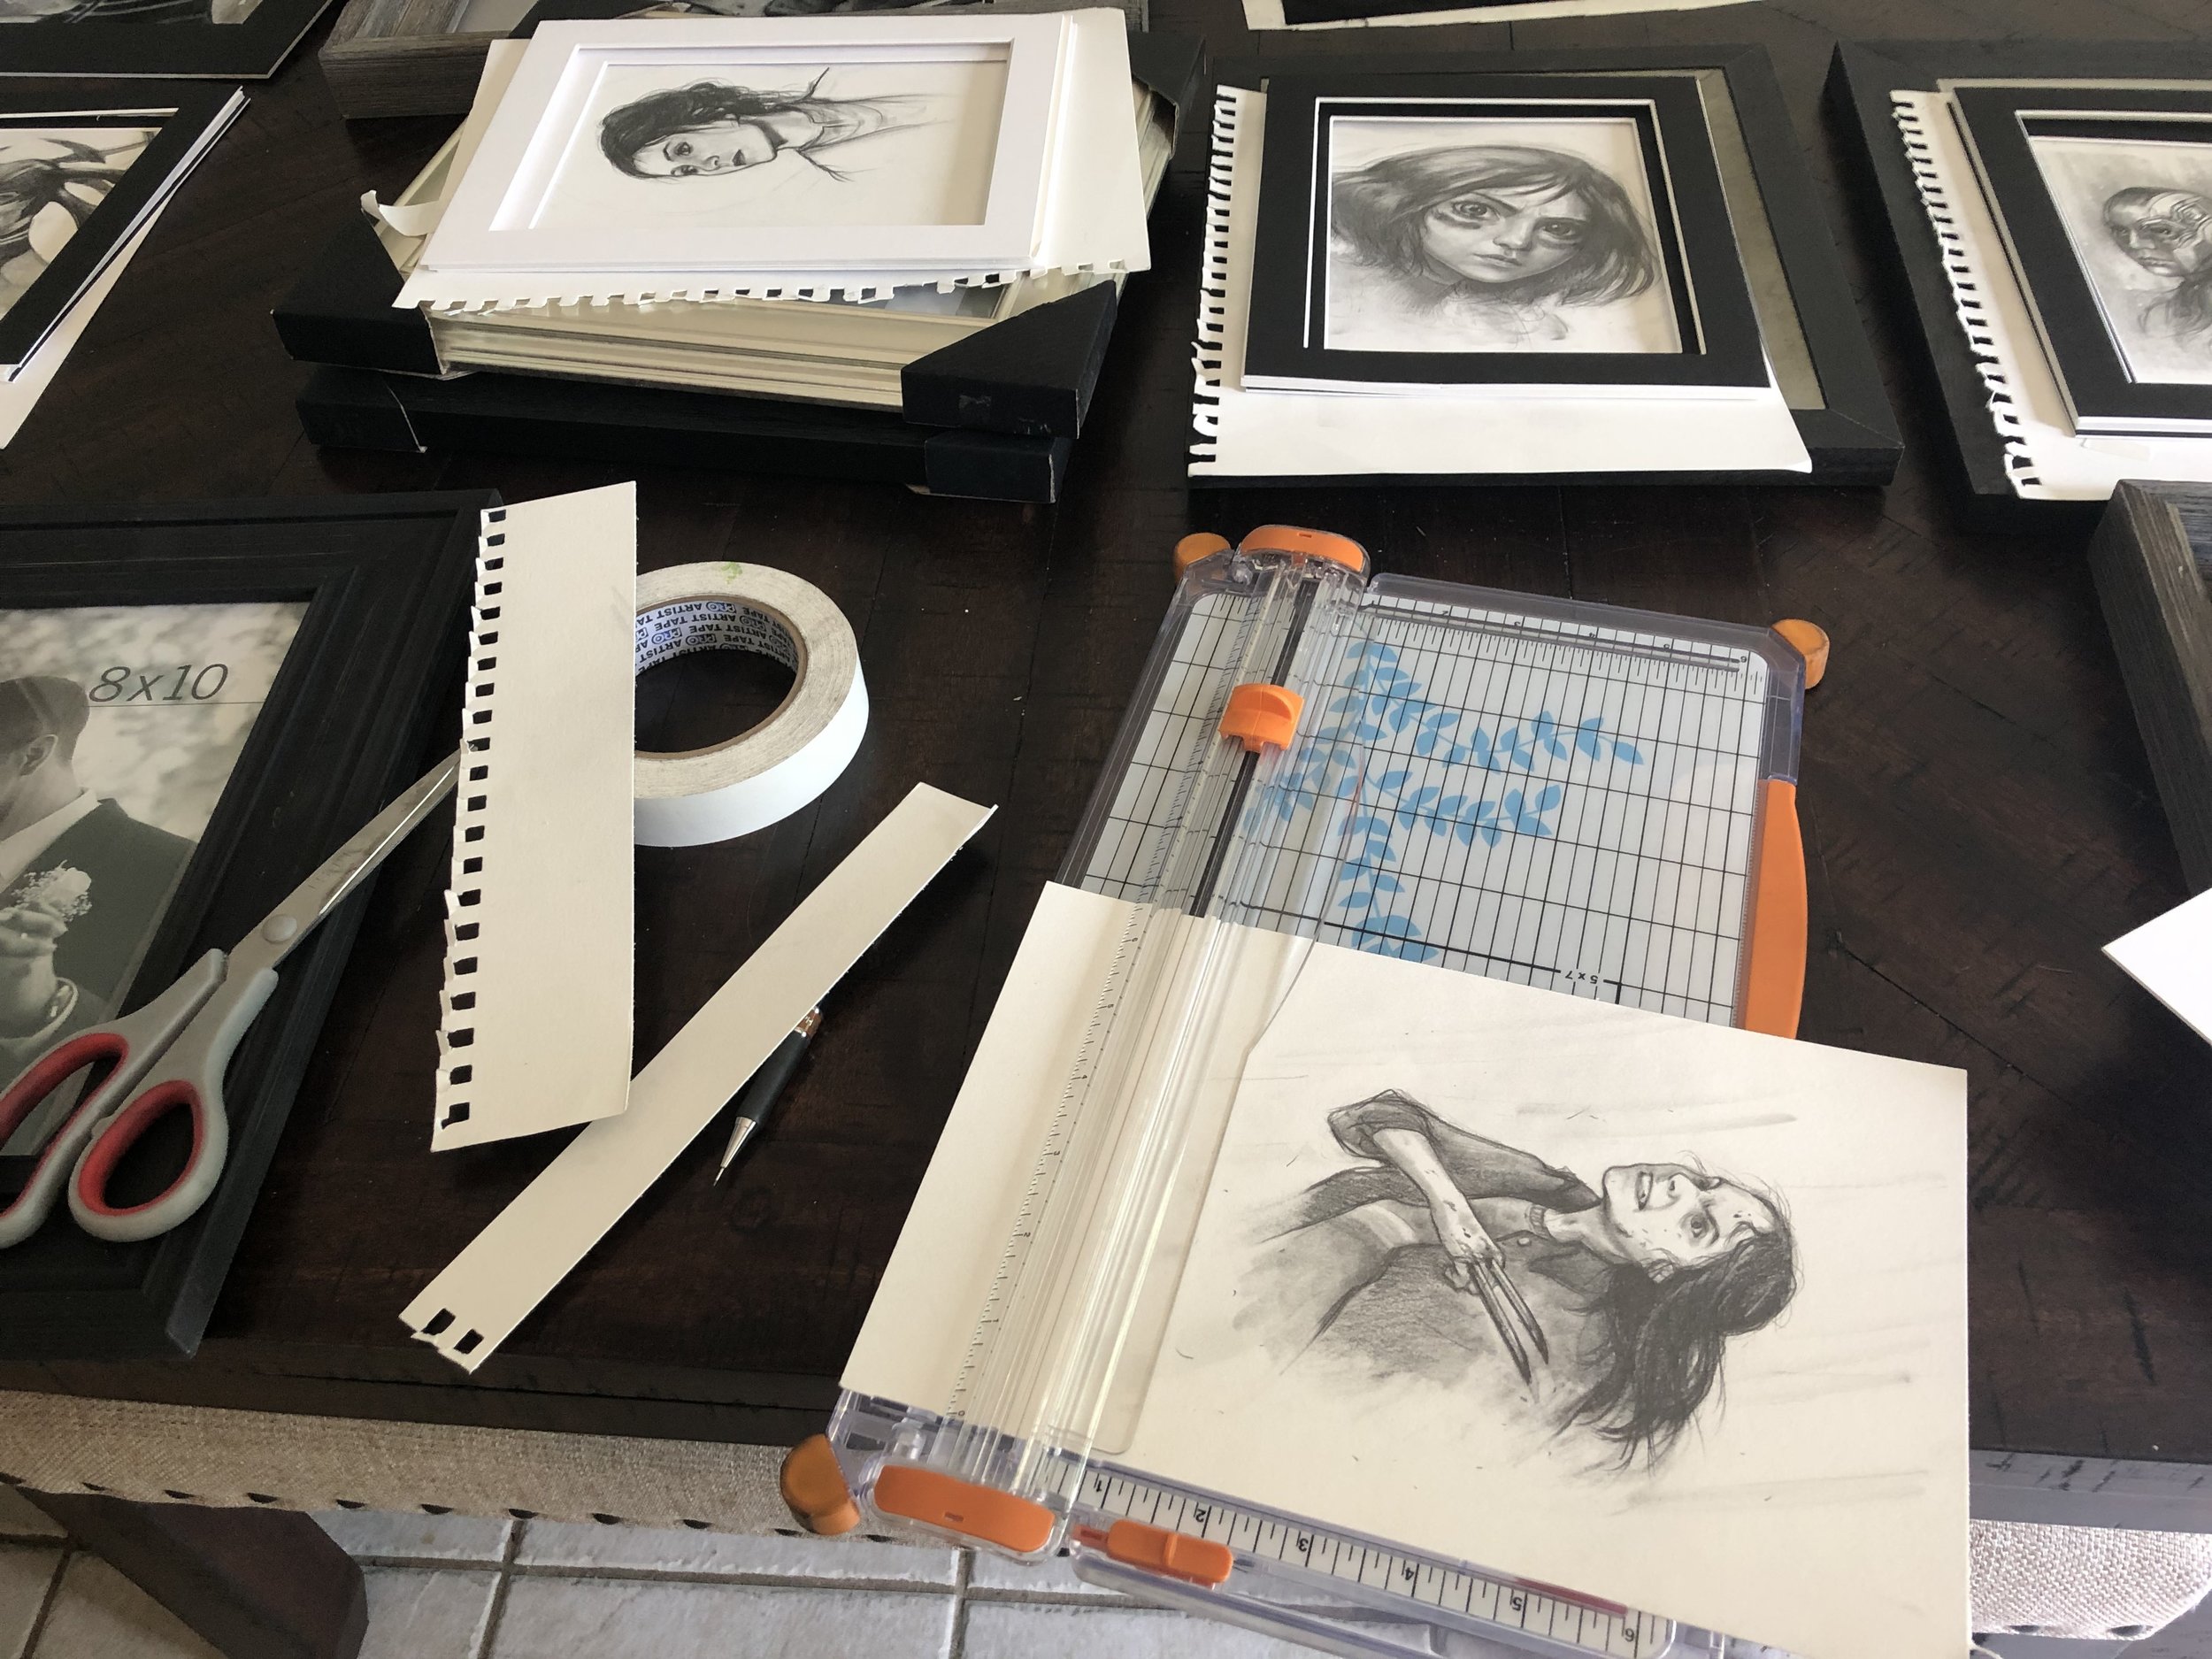
Materials: Logan Mat cutter. I suggest the Elite since it works with the the default 30x40 sized mat board. You can learn how to use the Logan Mat cutter with the instructions and video links provide with the product.
• Purchasing mat board sheets online is expensive. It’s also pricey to purchase them cut to size through PictureFrames.com. I suggest ordering the 30x40 sheets from a local stores like HobbyLobby and Michaels.
Tip: You can get four 16x20 mats from one 30x40 sheet.
Step 3: Framing the Artwork
Adhesive Applicators
Dust Cover Trimmer
Dust Cover Paper
D Ring Hangers
Soft Strange Wire
Point Driver
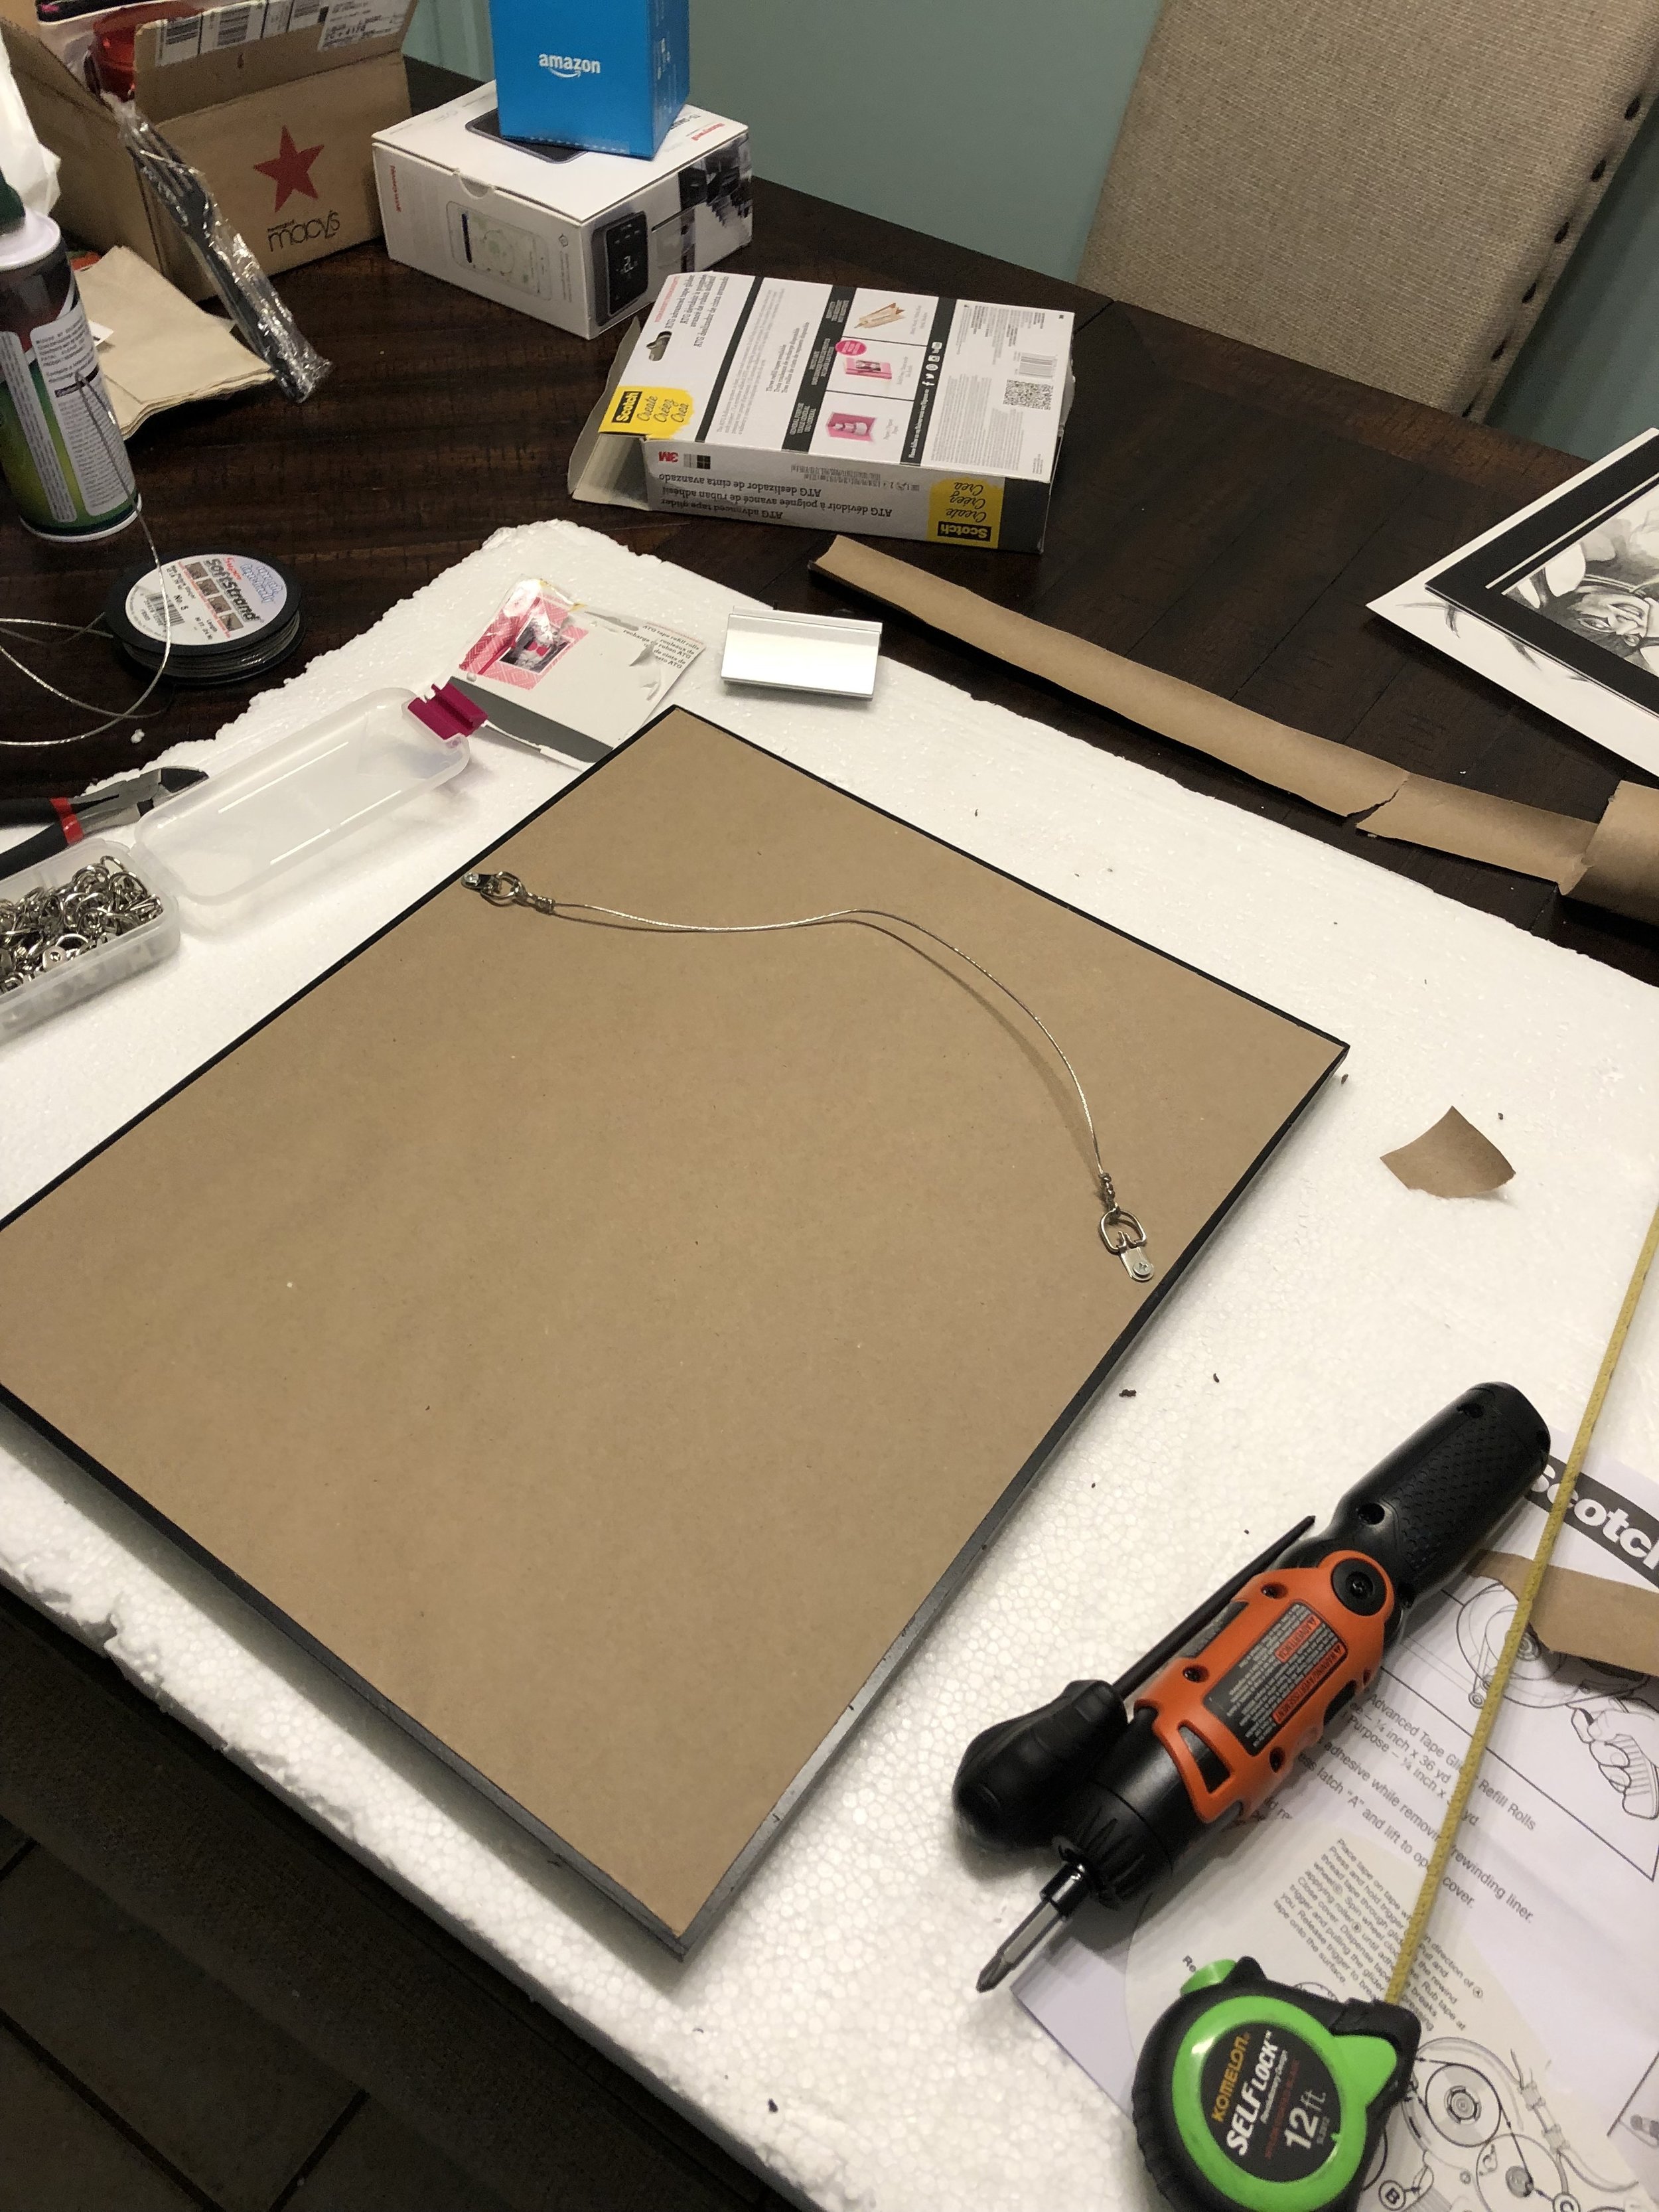
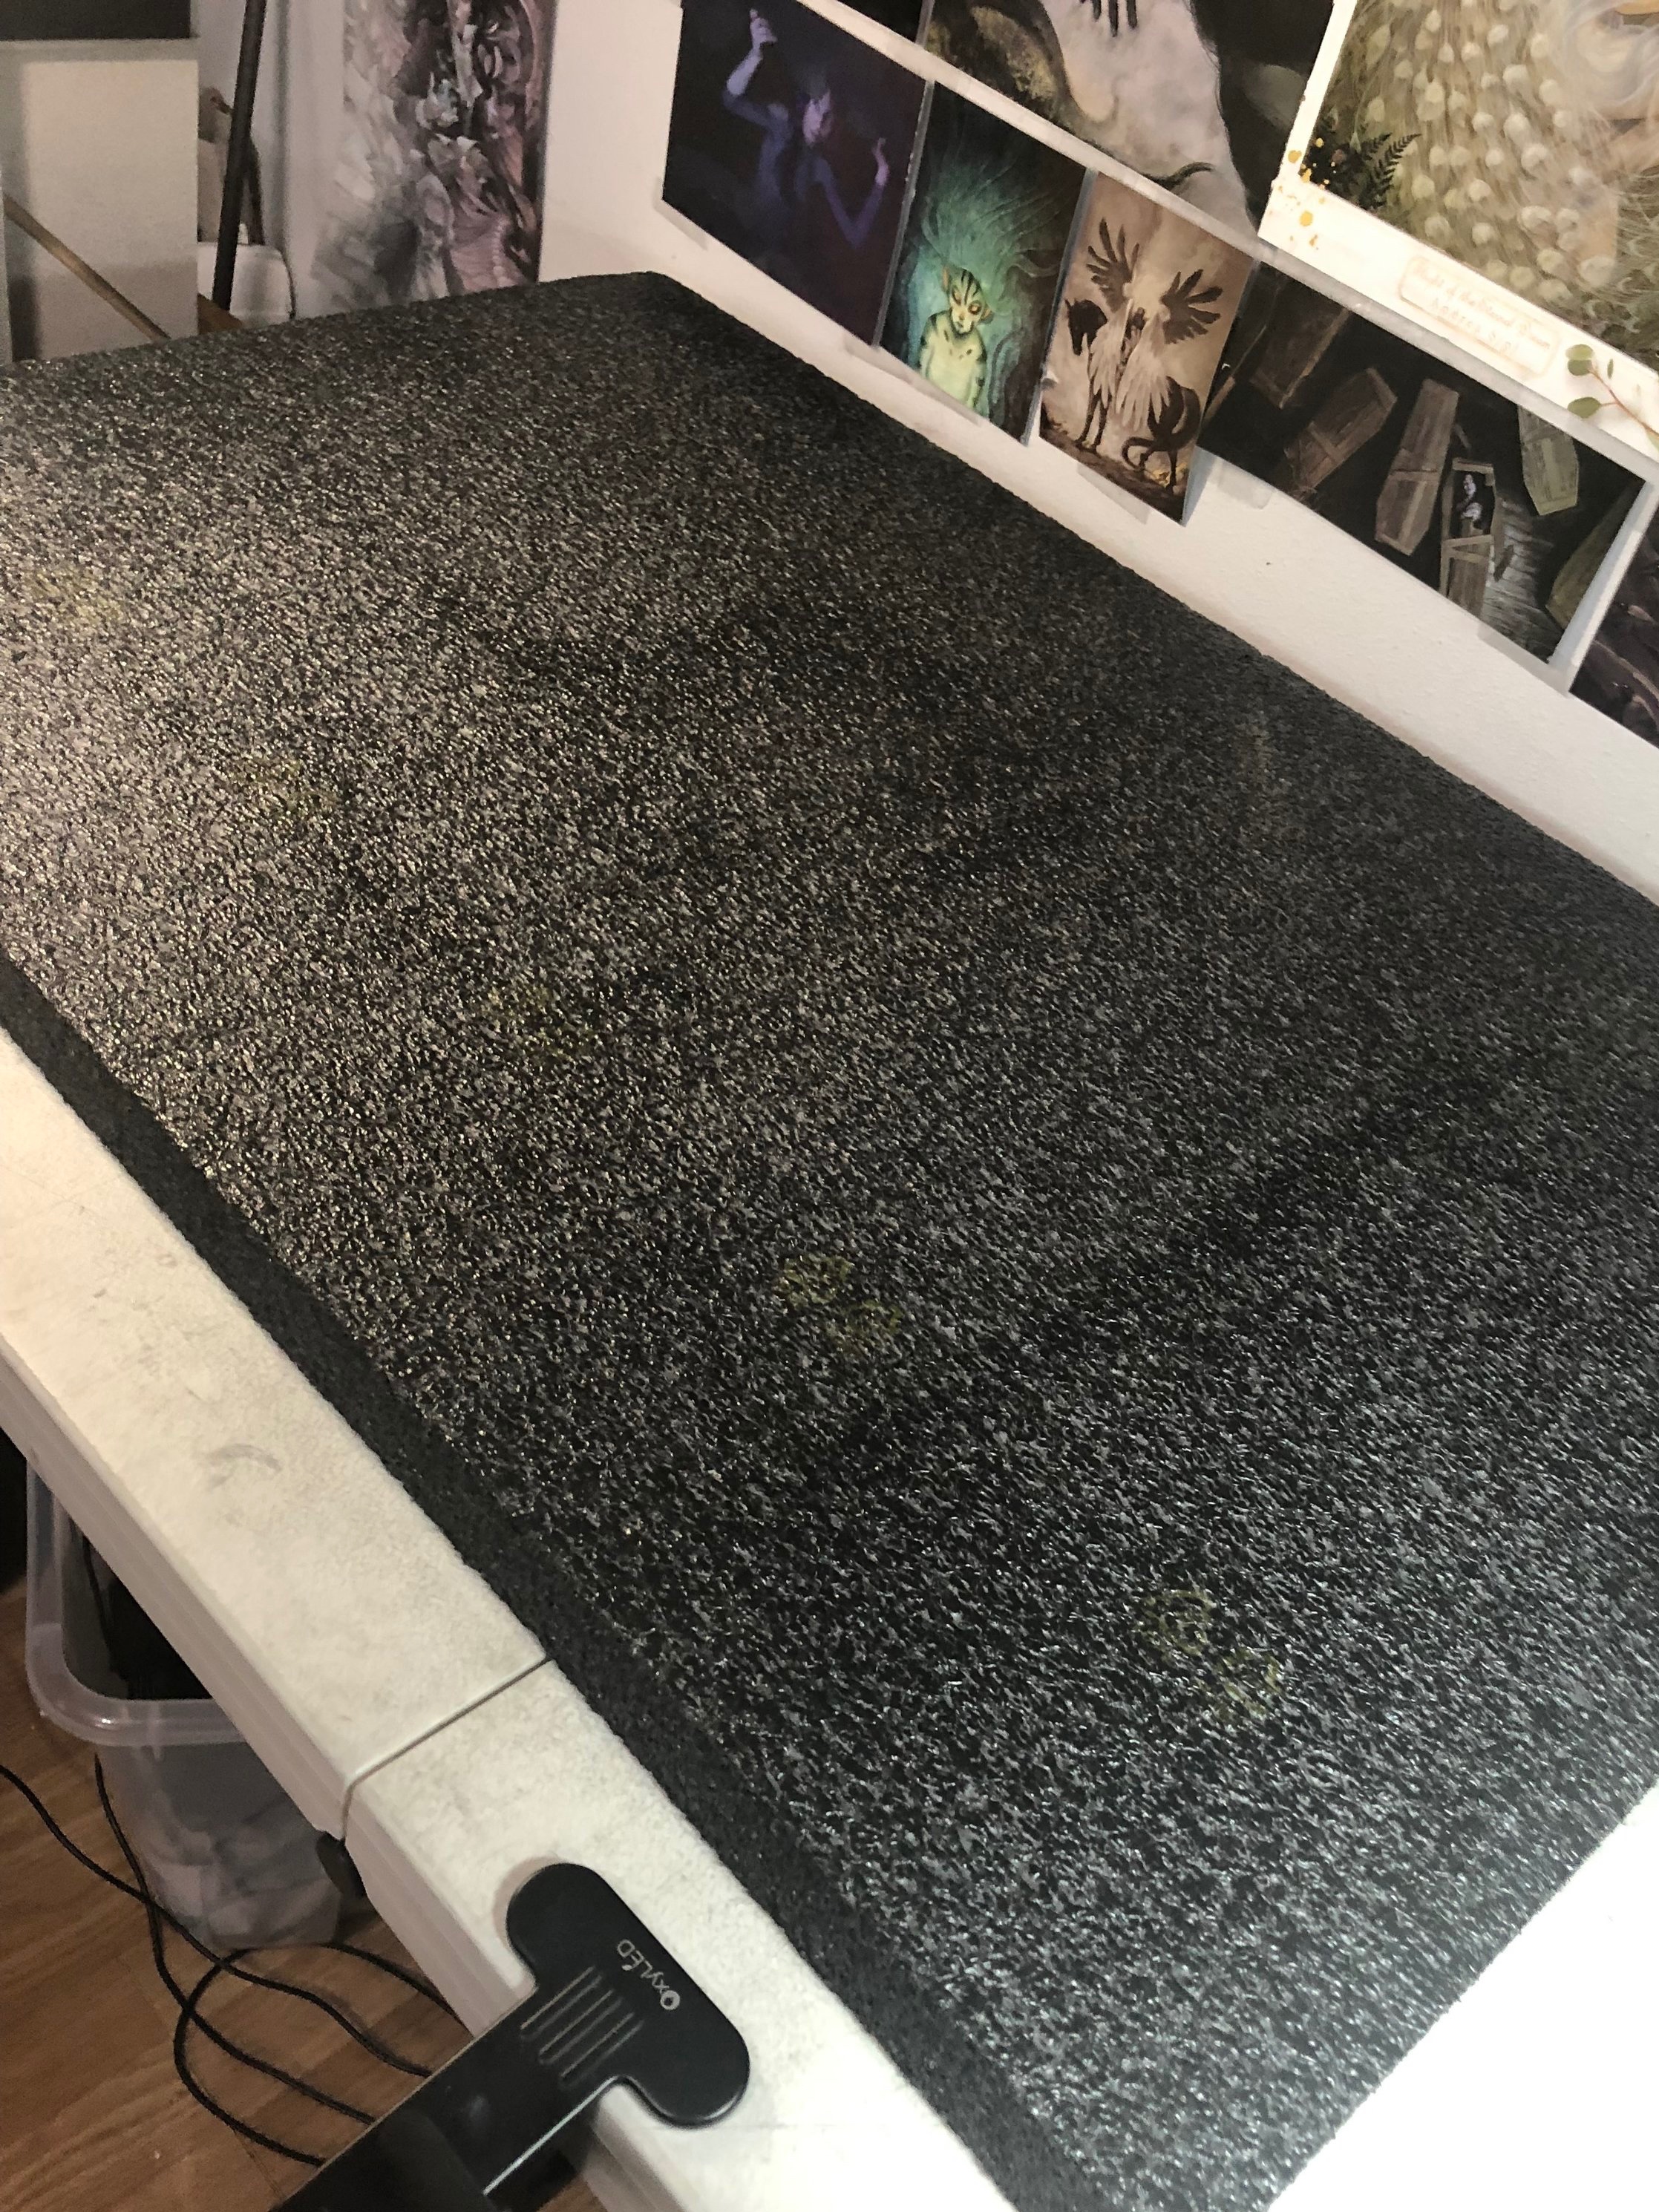
My biggest bit of advice is to keep your area clean. AND if you can find a piece of foam to elevate your working area, I highly suggest it. This way the framing materials will stay to the side and your framed artwork will be safe from dings and scratches. See below what I use.
You can purchase something at a hardware store. Look for 2” insulation panels. Make sure they aren’t toxic or something crazy. Talk to a store clerk.
This keeps your frame from safe. You can also use section of carpet, but I like having the 2” elevation from all my tools.
Below are some great videos summarizing how to frame your artwork.
Here are few things that are aren’t mentioned:
• Handle museum glass with cotton gloves to avoid smudges.
• Use only ammonia free glass cleaning when cleaning museum glass.
• You can request stickers showing you’re using museum glass and how to take care of it.
Step 4: Shipping
Materials:
Bubble Wrap
Corner Protectors
Optional: Custom Box, Painters Tape for Glass, and Glassine
Often I’ll just reuse the same packaging material I get when I order my frames online. Or you can purchase boxes at hardware stores and cut them to size. OR you can go to Fedex and USPS and they’ll package them for you.


